
The default demo import in Rakmyat Themes uses your server’s HTTP requests to download and install all demo content automatically.
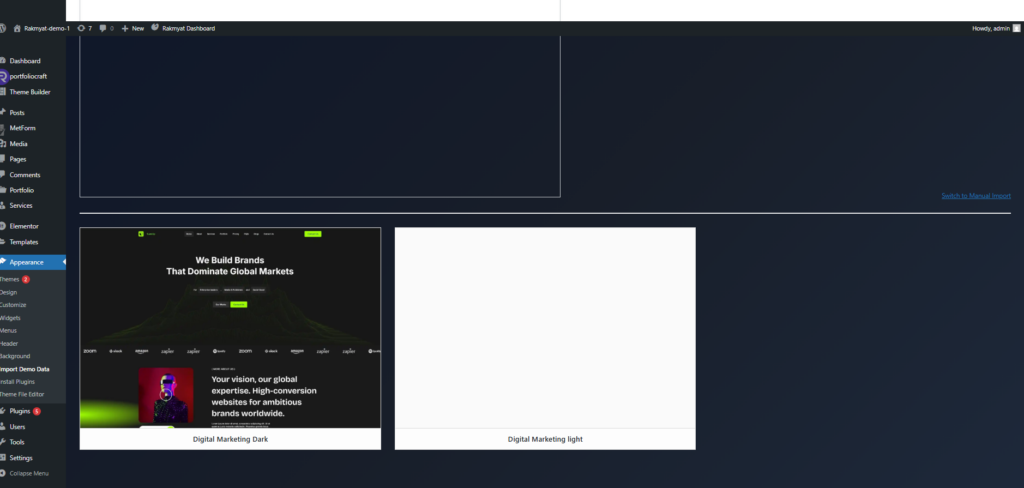
1. Open the Demo Import page #
- Log in to your WordPress admin.
- Go to: Rakmyat Dashboard → Demo Import
or Appearance → portfoliocraft → Demo Import (Rakmyat Core page).
You will see the demo list, for example:
- Digital Marketing Dark
- Digital Marketing Light
- RTL Digital Marketing Dark
- RTL Digital Marketing Light
Make sure you are on the default mode, not Manual Import. If needed, click “Switch to Manual Import” only when you want the manual method.
2. Start the default (server) import #
- Choose the demo you want (for example “Digital Marketing Dark”).
- Click on the demo thumbnail or Import button.
- Confirm the import when asked.
The system will use HTTP requests from our server to:
- Download demo XML data.
- Import posts, pages, menus, and widgets.
- Import images and media files.
- Apply theme options and template settings.
Do not close the browser tab during this process. The time needed depends on your server speed.
3. Import completion #
When the import finishes you will see:
Import Complete!
Congrats, your demo was imported successfully. You can now begin editing your site.
Below this message you have quick links:
- Theme Settings (to adjust options and customize).
- Visit Site (to see the imported demo on the frontend).
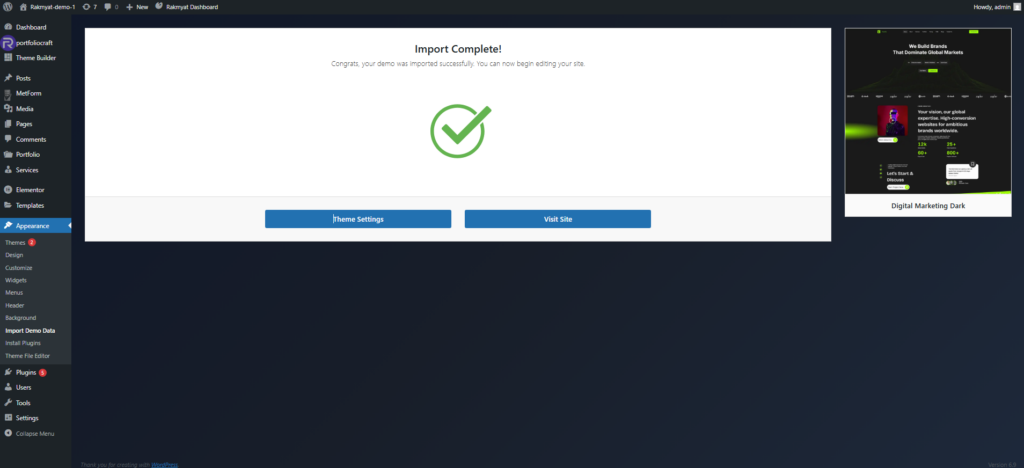
From now on you can edit pages with Elementor, change menus, replace images, and adjust theme options.
4. Requirements and tips #
For a smooth HTTP import:
- PHP memory limit: at least 256M (512M recommended).
- Max execution time: 300 seconds or more.
- Max upload size: 64M or more.
- All required plugins installed and activated (Rakmyat Core, Elementor, etc.).
If the import fails, check System Status and your hosting limits, then try again or use the Manual Import mode.


