
The header in Rakmyat themes is fully controlled by the Template Builder and Theme Options.
You create one or more header templates with Elementor, then assign them globally or per page.
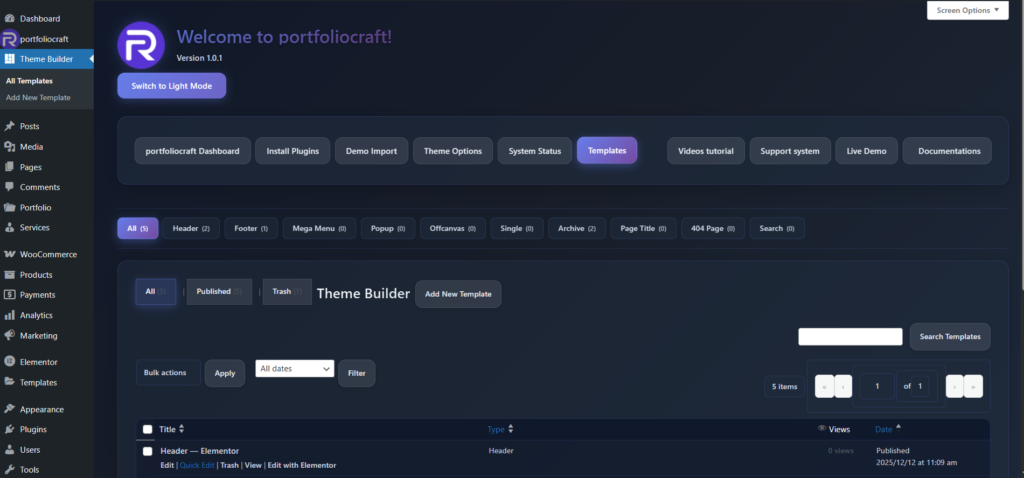
1. Creating a Header Template #
- Log in to WordPress admin.
- Go to Rakmyat Dashboard → Templates (Theme Builder), or Templates → All.
- Click Add New Template.
- Enter a title, for example: “Main Header” or “Header White”.
- Click Edit with Elementor
In Elementor, design your header:
- Add your logo (Image widget).
- Add the main navigation menu (Nav Menu widget).
- Add buttons (for example “Contact Us”, “Get a Quote”).
- Add language switcher or social icons if needed.
- Save/Update when finished.
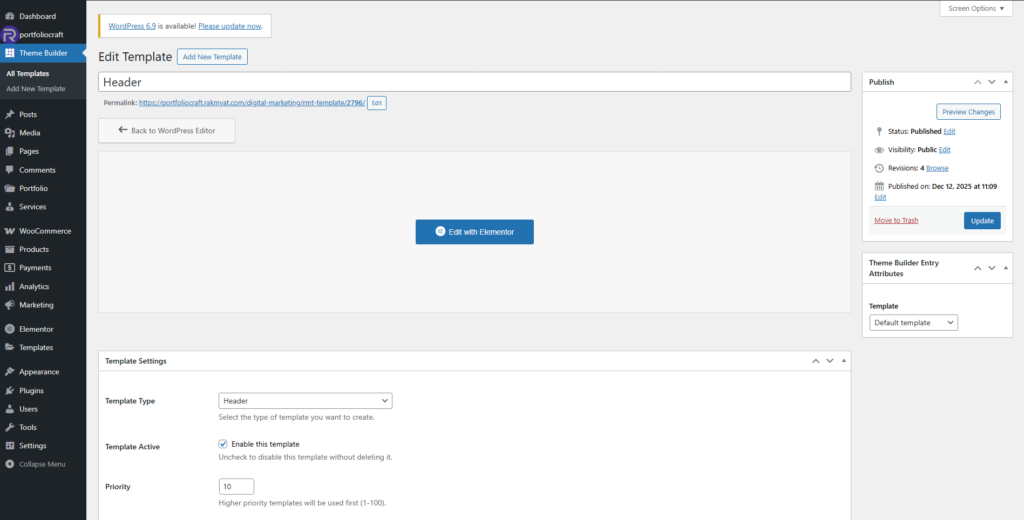
Set template type #
After publishing the template:
- In the Template edit screen, scroll down to Template Settings.
- Set Template Type to Header.
- Check Template Active to enable this header.
- Set Priority (1–100). Lower or higher priority determines which header is used when multiple active headers exist.
- Click Update.
Now this template is ready to be used as a header
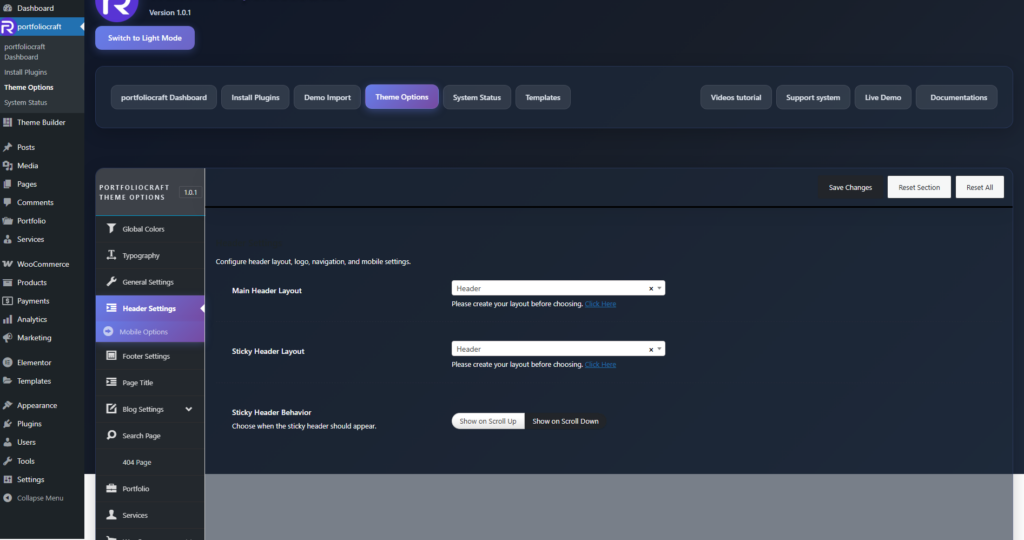
2. Assigning the Global Header in Theme Options #
To make the header appear on the site, you must select it in Theme Options.
- Go to Rakmyat Dashboard → Theme Options → Header Settings.
- In Main Header Layout, pick the header template you created (for example “Header” or “Header White”).
- In Sticky Header Layout, choose the template to use when the header becomes sticky (can be the same or a different header).
- Under Sticky Header Behavior, choose how the sticky header should appear:
- Show on Scroll Up
- Show on Scroll Down
- Click Save Changes.
Once saved, this header is used globally across all pages that inherit the default header
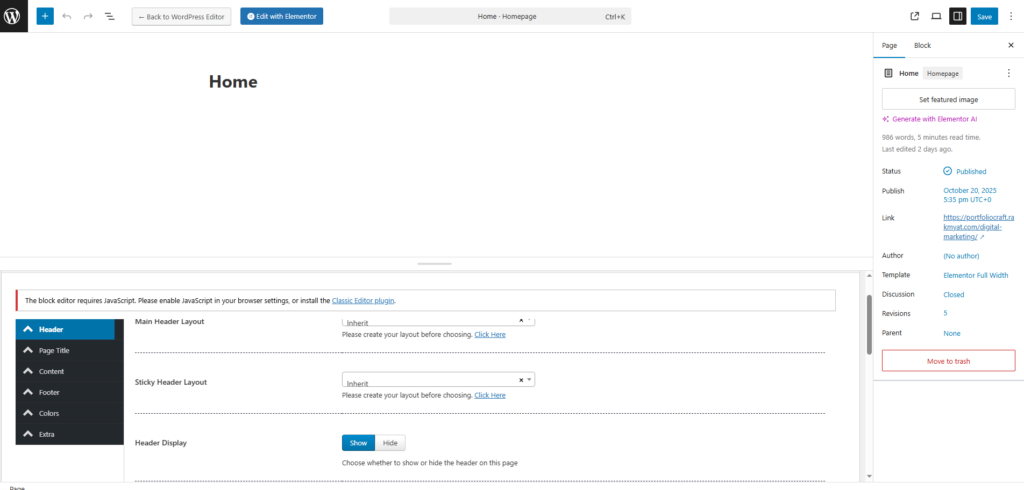
3. Overriding the Header per Page (Page Options) #
You can assign a different header for specific pages, such as the homepage or a landing page.
- Go to Pages → All Pages and click Edit on the page.
- Scroll down to the Page Options panel.
- Click the Header tab
Available options:
- Main Header Layout
- Inherit: use the global header from Theme Options.
- Or choose a specific header template (Header, Header White, etc.) for this page only.
- Sticky Header Layout
- Inherit: use the global sticky header.
- Or choose a specific sticky header template.
- Header Display
- Show: display the header on this page.
- Hide: remove the header completely (useful for full-screen landing pages or coming soon pages).
- Mobile Style
- Inherit, Light, or Dark: choose which mobile header style to use.
- Mobile Logo Dark / Mobile Logo Light
- Upload alternative logos for dark or light mobile headers.
- Menu
- Inherit: use the default menu.
- Or choose a specific menu (Primary Menu, Footer Menu) to use in this page’s header.
- Sticky Scroll
- Inherit, Scroll Up, or Scroll Down: control how the sticky header behaves on this page.
- Header Margin
- Set a custom margin (in px) around the header for this page.
After adjusting the options, click Update to save the page
4. Multiple Headers and Use Cases #
You can create more than one header template, for example:
- “Header White” – for light backgrounds.
- “Header Dark” – for dark hero sections.
- “Landing Header” – minimal header for sales or funnel pages.
Use Theme Options for your main default header, and Page Options to choose a different header where necessary.
Examples:
- Set Header White as Main Header Layout globally.
- On a landing page, go to Page Options → Header and select Header Dark.
- On a full-page hero section, set Header Display → Hide.
5. Troubleshooting Header Issues #
If your header does not show or does not change:
- Make sure the template is Template Type = Header and Template Active = Enabled.
- Confirm you selected the correct header in Theme Options → Header Settings → Main Header Layout.
- Check the page’s Page Options → Header:
- If a specific header is selected there, it overrides the global one.
- Clear any cache plugins and browser cache, then reload the page.
- Ensure no other header plugin is injecting an extra header.
With these settings, you have full control over the header design and behavior across your entire site, using a single central system: Template Builder for design and Theme Options / Page Options for assignment.


